Magnesium oxide (MgO) board is a versatile, fire-resistant, and moisture-resistant building material commonly used in interior partition wall systems. To ensure optimal performance and long-term durability, proper installation is essential. This guide outlines a detailed, step-by-step procedure showing how to install MgO board for interior partition walls, covering site preparation, material inspection, framing, board installation, joint treatment, and quality control. Following these guidelines will help ensure structural integrity and compliance with building standards.
1. Site Preparation
1.1 Install MGO board for interior wall only after exterior wall construction is complete. Avoid interior installation before exterior wall completion or window installation.
1.2 Complete major pipeline installations within each floor before MGO board installation.
1.3 Clean the site before installation. Remove dirt, dust, oil, and debris from the substrate area. Scrape away any remaining cement, and level uneven ground as necessary.
1.4 Keep the installation site dry, with no standing water on the floor.
1.5 Ensure joint installation occurs within a temperature range of 5°C to 35°C; avoid installation outside of this range.
2. Material Inspection
2.1 Verify the type, specifications, and quantity of materials before installation.
2.2 Ensure MGO boards are dry, flat, and free from damage or surface bulges.
2.3 Lightweight steel keels should be smooth, rust-free, and undistorted.
2.4 Joint compound must be dry, not damp, and free from clumps.
3. Wall Positioning
Determine the wall position according to design specifications. Mark lines on the floor slab, beam bottom, and ground to indicate the locations of the top and bottom horizontal keels, as well as the positions of doors and windows.
4. Keel Installation
4.1 Secure the top and bottom horizontal keels to the building and ground with expansion screws, shot nails, or other fasteners. Ensure adjacent fasteners are no more than 600mm apart.
4.2 Cut vertical keels according to the distance between the top and bottom horizontal keels (allow a 5mm margin for ease of fitting). Insert the vertical keel into the top and bottom horizontal keels, keeping the opening direction consistent and avoiding upside-down placement to maintain alignment.
4.3 If cutting vertical keels is necessary, face the cut end upward when inserting between the top and bottom keels. The keel spacing should be in accordance with the design requirements. Standard spacing is 600mm, but can also be set at 400mm or 300mm, not exceeding 600mm.
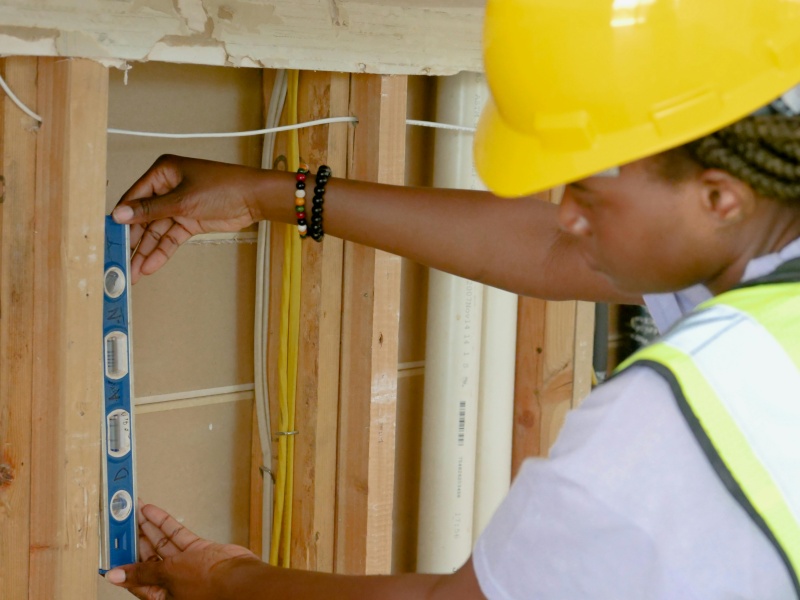
4.4 Use a plumb line to ensure the vertical keel is perpendicular.
4.5 Avoid fixing horizontal and vertical keels immediately. Adjust the keels to align with MGO board tolerances during installation.
4.6 Install one layer of MGO boards on one side of the keel frame.
4.7 Adjust keel positions as needed during MGO board installation. The horizontal and vertical keels can be fixed simultaneously with the MGO board installation.
4.8 Complete internal wall pipe installation and inspection before installing MGO board on the other side.
5. Door and Window Openings
5.1 Break the horizontal keel at the doorway position.
5.2 Position additional vertical keels on both sides of door and window openings, facing the opening away from the frame.
5.3 Use additional horizontal keels to make the frames of door and window openings. Insert vertical keels between horizontal keels to maintain a uniform spacing with other wall keels. For door or window widths over 1800mm, reinforce the structure.
5.4 Follow the same procedure for the lower frame of window openings.
6. Reinforcement for Equipment Hanging Keel
6.1 Reinforce keels designated for hanging equipment according to design requirements.
6.2 Install parallel joints, thin steel bands, or other horizontal support components at equipment hanging locations for secure mounting.
7. Pipe Installation
Install concealed pipes and sockets from the uninstalled side of the MGO boards.
8. Insulation Installation
8.1 Insulation can be rockwool, glass wool, or similar.
8.2 Install insulation firmly to prevent sagging or detachment.
8.3 Determine insulation thickness as specified.
9. MGO Board Installation for Internal Wall
9.1 Start MGO board installation from one side of the wall, working in sequence.
9.2 Boards should naturally align with adjacent boards, leaving design-specified gaps.
9.3 Position board edges at the center of vertical keels, with an overlap width of no less than 15mm.
9.4 Lift the panel bottom edge (or cut edge) above the floor by more than 10mm using a lifting device, avoiding direct contact with the floor.
9.5 Secure the panel’s upper edge tightly to the ceiling without gaps (except for partitions without sound or fire requirements).
9.6 The single-layer MGO boards on both sides of the keel must be installed vertically with staggered joints.
9.7 When joining the MGO boards vertically along the longer side, the transverse joints of the boards on both sides must be staggered.
9.8 Self-tapping screws should be driven in a single pass using an electric screw gun.
9.9 The self-tapping screws should ideally be embedded 0.5 to 1 mm deep into the surface of the board, without cutting through the fiberglass mesh.
9.10 The distance between the self-tapping screws and the edge of the board should ideally be 10 to 15 mm, and 15 to 20 mm from the cut edge.
9.11 The spacing of screws along the edge of the board should ideally be 200 mm, and 300 mm in the center of the board.
10. Joint Treatment
10.1 Mix joint compound and let it sit for 15 minutes before filling joints (note the compound’s curing time).
10.2 Ensure joints are clean and free from debris.
10.3 Fill joints with compound, pressing it to be level with the board surface.
10.4 Once cured, apply a second layer at least 50mm wide from the edge.
10.5 Adhere joint tape to the joints and smooth with a putty knife, ensuring no air bubbles between the tape and compound.
10.6 Align the centerline of the joint tape with the centerline of the joint to ensure equal adherence on both adjacent boards.
10.7 Spread any compound squeezed out from the edges of the joint tape over the tape itself, smoothing and pressing it firmly so the tape is embedded in the joint compound.
10.8 Allow the layer to set according to the setting time indicated on the joint compound packaging.
10.9 Cover the first joint treatment with a layer of joint compound, smoothing it level with the board surface. Extend the width by at least 50mm on each side beyond the original joint.
10.10 Allow this layer to set (refer to the setting time on the joint compound packaging).
10.11 Apply a third layer of joint compound over the previous treatment, smoothing it level with the board surface. Extend the width by at least 50mm on each side beyond the previous layer. Smooth the compound to level with the chamfered edges.
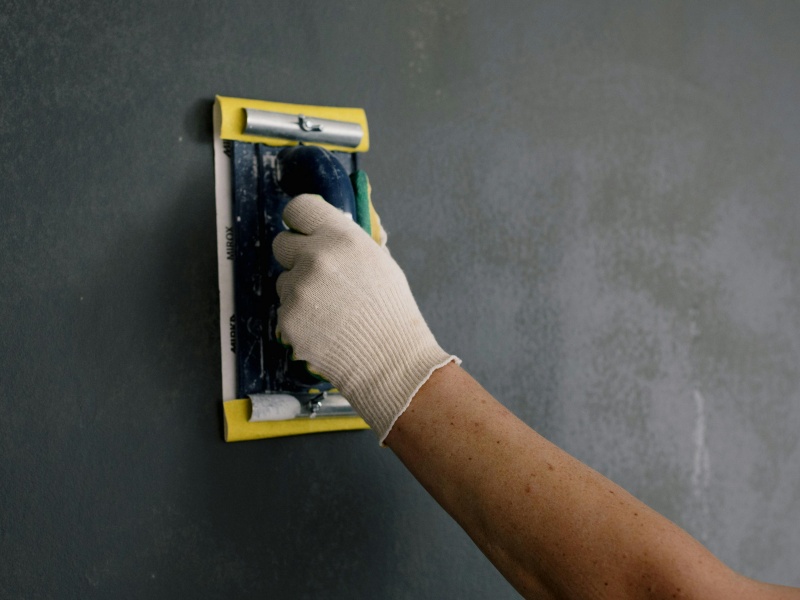
10.12 Once cured, lightly sand the surface with sandpaper until it is even with the board surface.
10.13 For cut edge joints, extend each layer of joint compound coverage by an additional 100mm.
11. Corner Treatment
11.1 Use a grinding tool to smooth uneven cut edges.
11.2 Apply joint compound along the corner and on both sides.
11.3 Fold corner tape along its centerline, placing it over the corner. Press firmly with trowel to secure with the compound.
12. Screw Head Treatment
Apply joint compound directly to screw heads, pressing it firmly and smoothing the surface.
13. Material Management
13.1 Based on the characteristics of MGO boards and light steel keels, materials management should be reinforced in packaging, loading and unloading, transportation, secondary handling, and storage.
13.2 The boards and keels should be transported and placed indoors, where they will be installed, using mechanical lifting before the outer walls are fully enclosed.
13.3 Materials should be stored in a dry indoor environment. Packaging should remain intact until use to prevent quality deterioration.
13.4 Materials should be stored and handled according to the manufacturer’s instructions, and should not be placed directly on the ground.
13.5 MGO boards should ideally be installed upon arrival and should not be stored onsite for extended periods.
14. Quality Inspection Instructions
14.1 The installation quality of concealed pipelines should be inspected before the boards are installed.
14.2 Check whether materials, placement, and structure meet the design requirements.
14.3 Ensure that the boards are flat, clean, undamaged, with joints that are smooth and tightly fitted, and that edges and corners are straight.
14.4 The work should comply with relevant design and construction acceptance standards and requirements.
15. Need More Help?
Proper installation of MGO board not only ensures structural stability and long-term durability, but also maximizes its performance in sound insulation, fire safety, and moisture control. By following the step-by-step procedures outlined above on how to install mgo board, contractors and builders can confidently integrate MGO boards into their interior partition systems.
Still have questions about how to install mgo board or need material specifications? Reach out to us now — our technical experts are here to assist with product guidance, installation details, and project-specific solutions.