This article shows the MGO board installation method for interior partition walls. Please note that there will be three parts and this is only the part 2.
6. Reinforcement for Equipment Hanging Keel
6.1 Reinforce keels designated for hanging equipment according to design requirements.
6.2 Install parallel joints, thin steel bands, or other horizontal support components at equipment hanging locations for secure mounting.
7. Pipe Installation
Install concealed pipes and sockets from the uninstalled side of the MGO boards.
8. Insulation Installation
8.1 Insulation can be rock wool, glass wool, or similar.
8.2 Install insulation firmly to prevent sagging or detachment.
8.3 Determine insulation thickness as specified.
9. MGO Board Installation for Internal Wall
9.1 Start MGO board installation from one side of the wall, working in sequence.
9.2 Boards should naturally align with adjacent boards, leaving design-specified gaps.
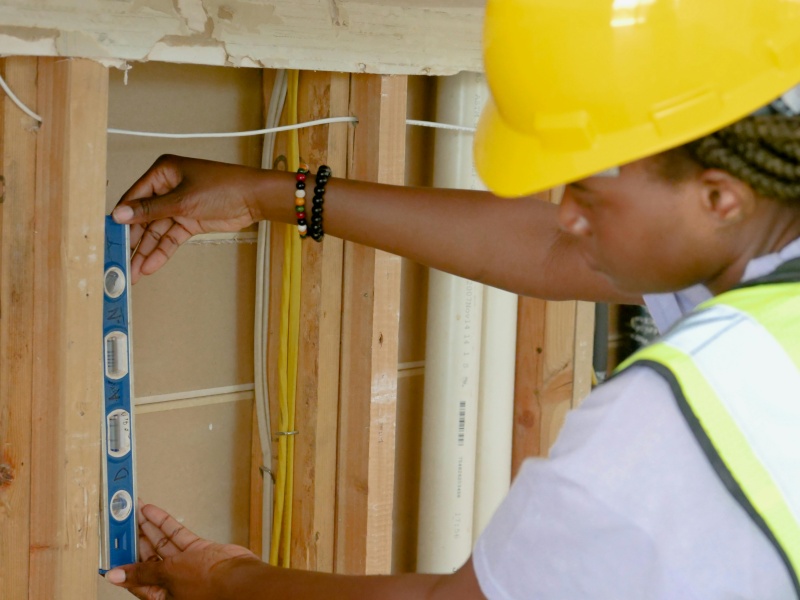
9.3 Position board edges at the center of vertical keels, with an overlap width of no less than 15mm.
9.4 Lift the panel bottom edge (or cut edge) above the floor by more than 10mm using a lifting device, avoiding direct contact with the floor.
9.5 Secure the panel’s upper edge tightly to the ceiling without gaps (except for partitions without sound or fire requirements).
9.6 The single-layer MGO boards on both sides of the keel must be installed vertically with staggered joints.
9.7 When joining the MGO boards vertically along the longer side, the transverse joints of the boards on both sides must be staggered.
9.8 Self-tapping screws should be driven in a single pass using an electric screw gun.
9.9 The self-tapping screws should ideally be embedded 0.5 to 1 mm deep into the surface of the board, without cutting through the fiberglass mesh.
9.10 The distance between the self-tapping screws and the edge of the board should ideally be 10 to 15 mm, and 15 to 20 mm from the cut edge.
9.11 The spacing of screws along the edge of the board should ideally be 200 mm, and 300 mm in the center of the board.


